Вимірювання профілів поверхні
Двома основними цілями підготовки поверхні є обробка та очищення поверхні. Specifying a specific sand blasting profile does not represent the cleanliness of the sand blasting, and the two need to be considered separately. The surface profile, anchoring pattern, or roughness is defined as the maximum average peak-valley depth (or height) caused by abrasive impact on the substrate. Both SSPC-SP5 and -SP 6 can have a surface profile of 0.025 до 0.10 мм (1 to 4mil). The surface profile effectively increases the surface area to which the coating can be attached and provides mechanical anchoring that assists in adhesion. В загальному, thicker coatings require a deeper surface profile than thinner coatings.
It is essential to specify the surface profile. Too shallow a surface roughness can lead to adhesion difficulties, while too deep a surface roughness (and insufficient coating thickness) can lead to pinhole rust because the unprotected contour crest protrudes above the coating surface. В загальному, the surface profile should be 15% до 20% of the total coating system thickness (аж до 0.38 мм [15 міл]).
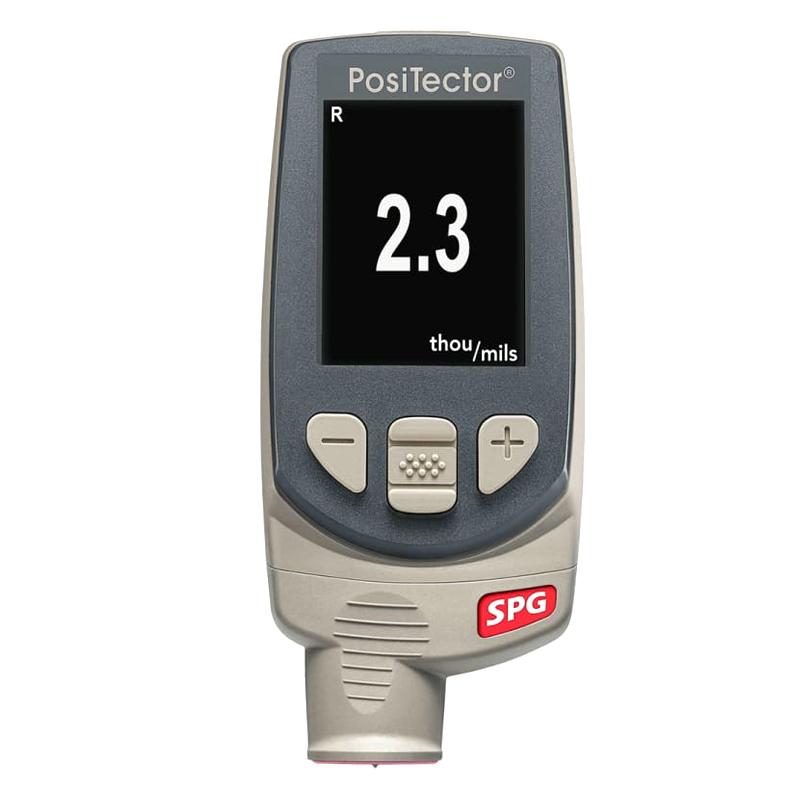
Surface profile measurements are usually carried out in the field or in the workshop using one of three types of instruments: visual surface profile comparators, depth micrometers, or replication tapes. Civil engineering guidelines require the use of duplicate tape.
Вимірювання профілів поверхні
Keane-Tator and Clemtex anchor pattern comparators
A visual comparator can be used to assess the average peak and valley depth after sandblasting. Samples or platters representing various contour depths are compared with existing surfaces to determine the surface profile. Проте, different types of abrasives can result in different contour appearances, even though the depth may be the same. Наприклад, a sandblasted profile is rounded compared to a more angular abrasive profile. To obtain a similar contour depth, shot peening usually results in a larger lateral distance between peaks due to their shape, which will result in a lower peak count for a given area. The optical effect will make a sandblasted cleaned surface look deeper than an abrasive cleaned surface in the same situation, even if they are at the same depth. тому, before determining the surface profile, it is crucial to select a reference disk or sample that represents the usual type of abrasive used to clean the surface.
Depth micrometer
Another field instrument used to determine the average contour depth is a depth micrometer. The instrument consists of a cone-shaped needle protruding from a large flat base about the same size as nickel. The instrument is calibrated on a mirror or glass plate by rotating the entire scale reading so that the zero line is aligned with the pointer. In theory, when the instrument is firmly placed on the polished substrate, the base will lean against the summit, while the needle will stick out into the valley. The average profile can be obtained by taking multiple readings. The instrument must be picked up and dropped at each reading, rather than dragging it through the outline, otherwise the tip will become dull, resulting in a false reading.
Вимірювання профілів поверхні

Replication tape
The surface profile can be determined using a copy tape. The replication tape consists of an emulsion film of tiny bubbles attached to a uniform 0.05 мм (2млн) polyester film. The tape is pressed against a polished surface, emulsion side down, and the polyester film is rubbed strongly with a blunt object. The summit of the profile will break the bubble and eventually touch but not change the thickness of the polyester because it is incompressible. The band is then measured using a lightweight spring pressure micrometer that provides readings from the upper surface of the polyester to the high point of the emulsion that is not fully squished (corresponding to the valley of the outline). The total micrometer reading is adjusted according to the thickness of the polyester to provide a direct reading of the maximum average profile. The copy comes with multiple grades and can be used to measure different ranges of contours, from less than 1.0 to more than 4.0 млн. If stored in a cool area without pressure, the copy tape will usually remain permanently imprinted. Copies of Outlines should be kept permanently for future reference. The date, час, method used, measuring position and contour measurement should be recorded.
