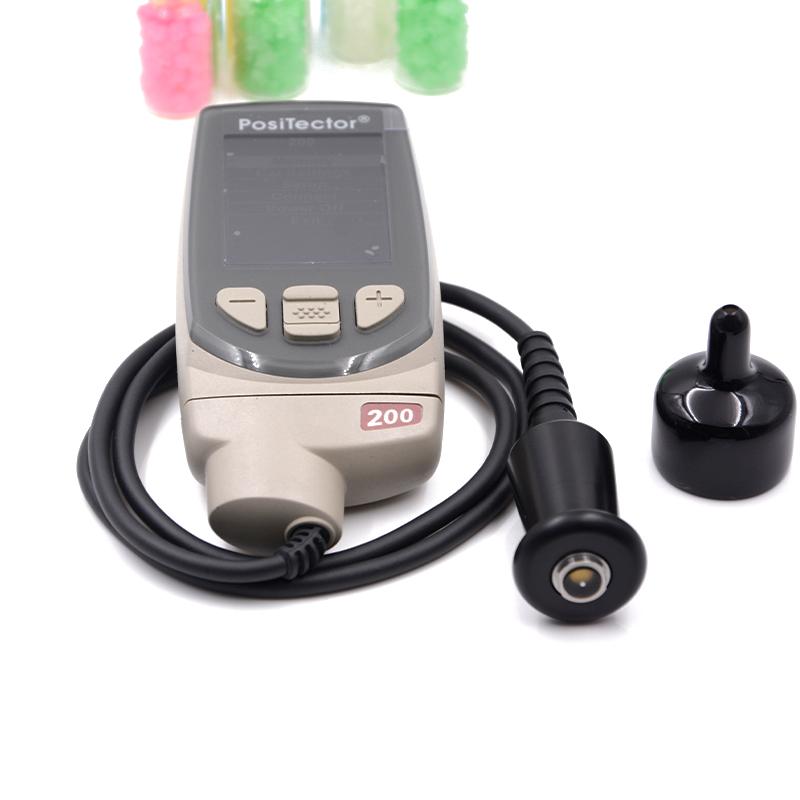
The application of nondestructive testing coating thickness in coating construction is explained in detail
The quality and performance of the coating are directly related to the thickness and integrity of the coating. Therefore, it becomes essential to use non-destructive measurement techniques to measure the thickness of the coating and find defects in the coating. Two important areas in this regard are “Holiday” and “Pinhole” detection. “Holiday” refers to the area of missing coating in the coating film, while “Pinhole” usually refers to the tiny pores in the coating film. To ensure coating quality, we need to be able to detect and fix these issues. To achieve this, a “Holiday”, “Pinhole” or “spark” test can be used to look for blemishes, scratches and pinholes in the coating film.
Why the “Pinhole” and “Holiday” tests
In a multi-coating system, the thickness of each layer should be of concern, especially when each layer has different properties. For example, when the coating system contains an inorganic zinc primer/epoxy intermediate paint/urea resin topcoat, the thickness of each layer should be measured to ensure that it meets the requirements. Especially when the coating is used for immersion services, pinhole testing becomes particularly important. The “Holiday” test is usually carried out after the construction of the penultimate or last coat of coating to ensure the quality of the coating.
Non-destructive testing tools and methods
Low voltage wet sponge pinhole detector: suitable for finding discontinuities in non-conductive coatings on conductive metal surfaces. By moving the soaked sponge electrode over the surface, the flow of current through the pinholes to the substrate can be detected. An audible signal is then heard to indicate the presence of a pinhole or discontinuity. This method is suitable for coating thickness of up to 0.51 mm (20mil). For thicker coatings, a non-foaming wetting agent can be added to the water to improve wettability.
High voltage “Holiday” detector: Similar to the low voltage method, but without the use of sponges. The high-voltage detector detects pinholes, missed coating, or missing areas by generating a spark between the electrode and the coating at a high voltage. This method is suitable for coating thickness above 0.51 mm (20mil). High voltage methods are often used for critical applications such as piping.
The application of nondestructive testing coating thickness in coating construction is explained in detail

Precautions and limitations of non-destructive testing
While the “Pinhole” and “Holiday” tests were effective at finding problems, there were some limitations. For example, in some cases, pinholes, while visible to the naked eye, may not sound because they have not penetrated the substrate. On the other hand, the detector may make a sound indicating the presence of a void, but in fact cause a false alarm because the coating itself may be conductive.
In the field of coating construction, non-destructive measurement technology plays a key role in measuring coating thickness and detecting coating defects. These technologies help ensure the consistency and quality of the coating, thereby improving the performance and life of the product. By using these methods correctly, manufacturers and builders can better meet the technical requirements of the coating, ensuring that the coating performs well under a variety of environmental conditions.
